

Everyone has heard of Pinterest, a visual bookmarking site where you can save your favorite images, products, etc. And if you have been following some Pinterest accounts for a while, you might have noticed that most of these accounts have Pinterest board covers.
Pinners create these broad covers to show off their work to a broader audience, get traffic to their site and inspire others to explore their Pinterest boards.
So, if you are new on Pinterest and want to market your product/services or site, you should definitely create some Pinterest board covers to give more exposure to your work.
In this post, I will show you how to make gorgeous Pinterest board covers using the tools your favorite design program Canva has to offer.
What Is A Pinterest Board Cover?
A Pinterest board cover is the primary image that appears at the top of a Pinterest board. It’s the first image that shows up on a board when you land on the Pinterest board section, so they’re a great way to showcase your brand and all you have to offer.
Pinterest boards without a cover image look less appealing and less professional.
Why Do You Need Pinterest Board Cover?
A Pinterest board cover helps you stand out from the crowd. It also helps your visitors know what the theme of your boards is.
For example, if they land on your page, they can see the theme, and if they like it, they can go to that board to see more related pins. This makes it easy for people to consume your content and engage with it.
What Is The Ideal Size For Pinterest Board Cover
It is important to choose a photo that is the right size for each board you create on Pinterest. People will see this when they look at your boards, so it should be inviting and beautiful, rather than stretched out and awkward.
And the image size recommended by Pinterest is 222 x 150 pixels.
How To Make Pinterest Board Covers
1. Use A Square Template:
To create a Pinterest board cover, start by choosing a square template on Canva. There are plenty of options to choose from, so take your pick! If you are a free Canva user like me, then select the Instagram template it fits well.
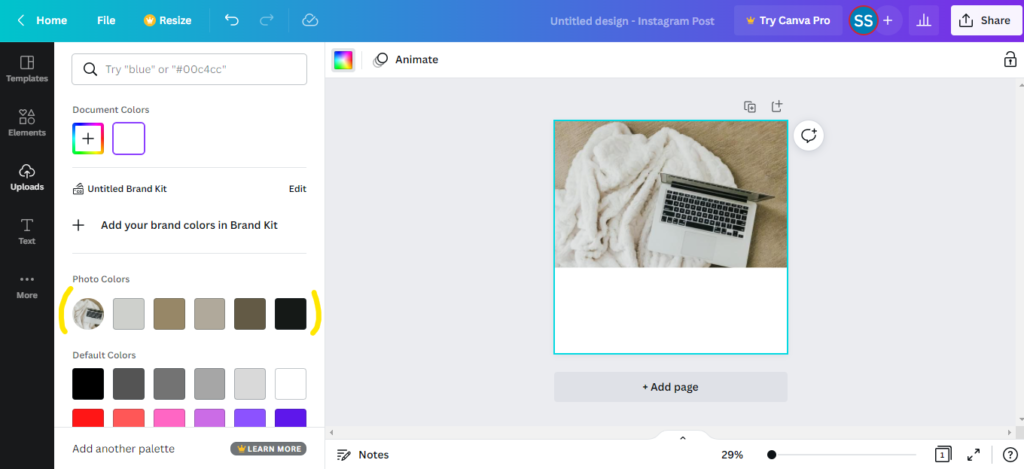
2. Customize The Background:
Once you’ve chosen a template, add your image. To add a photo, click on the “Uploads” tab in the editor menu and select “Upload an image.” Choose the image you want to use from your computer and click “Open.” Now, drag and drop or double click to place it onto your design.
Choose images that will fit into your board’s theme, and remember that it should be eye-catching so that they draw people in!
You can also change colors and match them with the photo using the amazing photo colors tool on Canva.
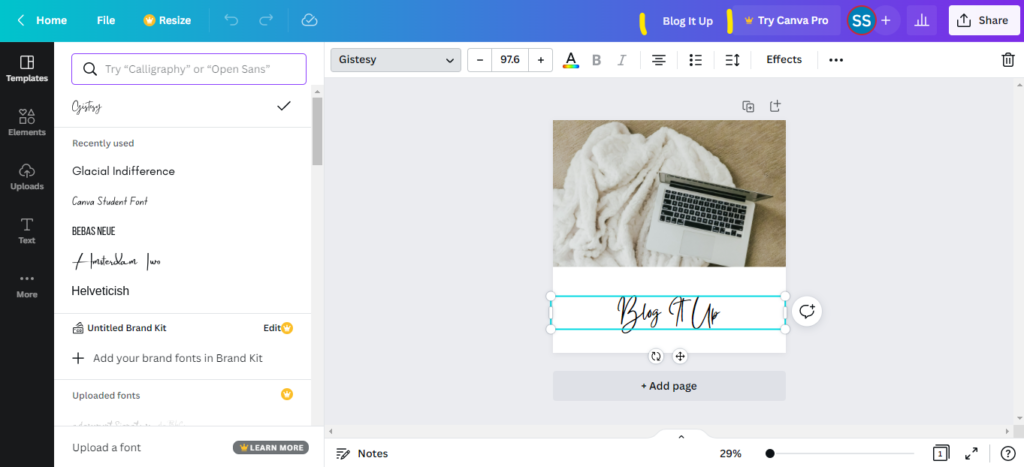
3. Add Texts:
To add texts, click the “Text” button in the top toolbar and begin typing away! If you want to change the font, color, size, or position of the text box, just use Canva’s handy drag-and-drop tool. You can even choose from a variety of fonts!
4. Change The Image Name:
To name your design, click on the document title right next to the Try Canva Pro button. You’ll see a text box that you can fill in with the name of your design.
By default, the title of your document will appear as “Untitled Design.” It is advisable to change this or add in a keyword when creating titles for your designs so that search engines can find them.
5. Download Template:
When you’re finished adding elements to your design, click on “Share” in the top right corner and click download on the menu bar.
The download panel will show you different file sizes for each format—JPG, PNG, PDF—that Canva supports. Choose Png for your board cover.
6. Upload It On Pinterest:
Now that you have a Pinterest board cover, you’ll want to upload it on Pinterest.
Here are the following steps to help you get started:
- Go to your Pinterest profile and click create a pin to upload your board cover.
- Next, upload the board cover you created with Canva.
- Add a title and pin description.
- Next, click on one of the boards to that you want to add a cover image and hit the publish button.
- For the last go the board (you uploaded the image), click edit board>board cover, and select the cover image. Congrats, you finally created your first Pinterest board cover.
This is how your Pinterest boards should be looking after uploading the covers.

Don’t Want To Spend Money On Keyword Research Tools? Then What Are You Waiting For Sign Up And Get A Free Keyword Course To Boost Your Google Ranking!
How To Remove Pinterest Board Cover
Just as it is easy to create a Pinterest board cover, it is also easy to remove it. The following steps will guide you through the process.
- Go to your Pinterest account and head to the board you want to remove the cover.
- Over there, click on the pin you are using as a board cover and save it to another board.
- That’s it, you removed the board cover.
Few Words Of Thought
Personalizing your boards is a quick way to show others in your niche that you are serious about what you curate. Custom Pinterest board covers are a great way to showcase your brand, introduce yourself or highlight popular pins.
You can create an attention-grabbing board cover using Canva in just a few minutes. I hope you find this tutorial helpful. You can read this post if you want to create a new board cover, change a board cover or remove one.
If you have any questions or suggestions, leave the comment below!